
➡️ How to get started with OMRviewer
Connect your CRM system to OMRviewer through OMR Manager, create filters based on signal types, and enrich your contact data in one workflow
Get to know OMRviewer and create your first filter
Getting started with buyer intent data in OMRviewer can seem a little complex at first. To help you make the most of the data quickly and efficiently, we’ve put together a few tips. They’ll help you get to know OMRviewer and integrate the data smoothly into your existing processes.
Step 1: Log in to OMRviewer
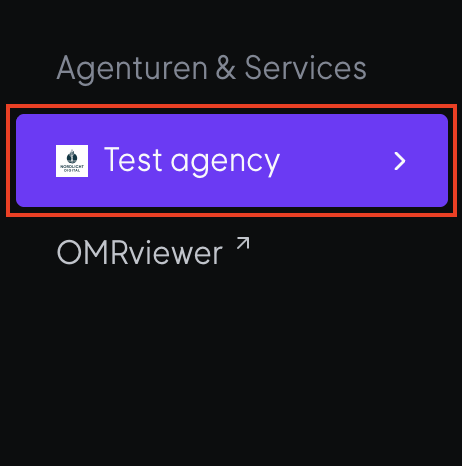
1. Log in to OMR Manager.
2. In the menu on the left, go to Agenturen & Services.
3. Click OMRviewer at the bottom of the menu.
4. A new window will open, and you’ll be logged in to OMRviewer.
Step 2: Watch the OMRviewer intro video
Step 3: Get familiar with the layout of OMRviewer
It’s completely normal to need a little time to get used to a new tool. Grab a cup of coffee and set aside some time to familiarize yourself with the layout of OMRviewer.
👉 Find out more about the layout of OMRviewer
👉 Learn about the different signal types for agencies
Step 4: Create your first filter
Think about which signal types are most valuable to you, then create your first filter.
👉 Find a guide to creating your first filter
Step 5: Connect OMRviewer to your CRM system
Data can only make an impact when you incorporate it into your ongoing processes. That’s why you should integrate OMRviewer with HubSpot, Pipedrive, or Salesforce, so your contact data is automatically enriched with intent data.
This means both your sales and marketing teams can use the data in future campaigns and outreach.
 Powered by happysupport.ai